Sicken of usual surfboards? Have long been dreaming of a single-handedly customized board painting?
Here we have a bit by bit instruction on Spraying Your Surfing Board into a Unique and Trendy Kit just in a few moments.
Table of Contents
The procedure
- Choose the coloring of an aerosol paint, a mesh brush (for instance, the one you use to wash up your car) and gloves to keep your hands clean.
- Make up your mind about the future graphic design of your board.
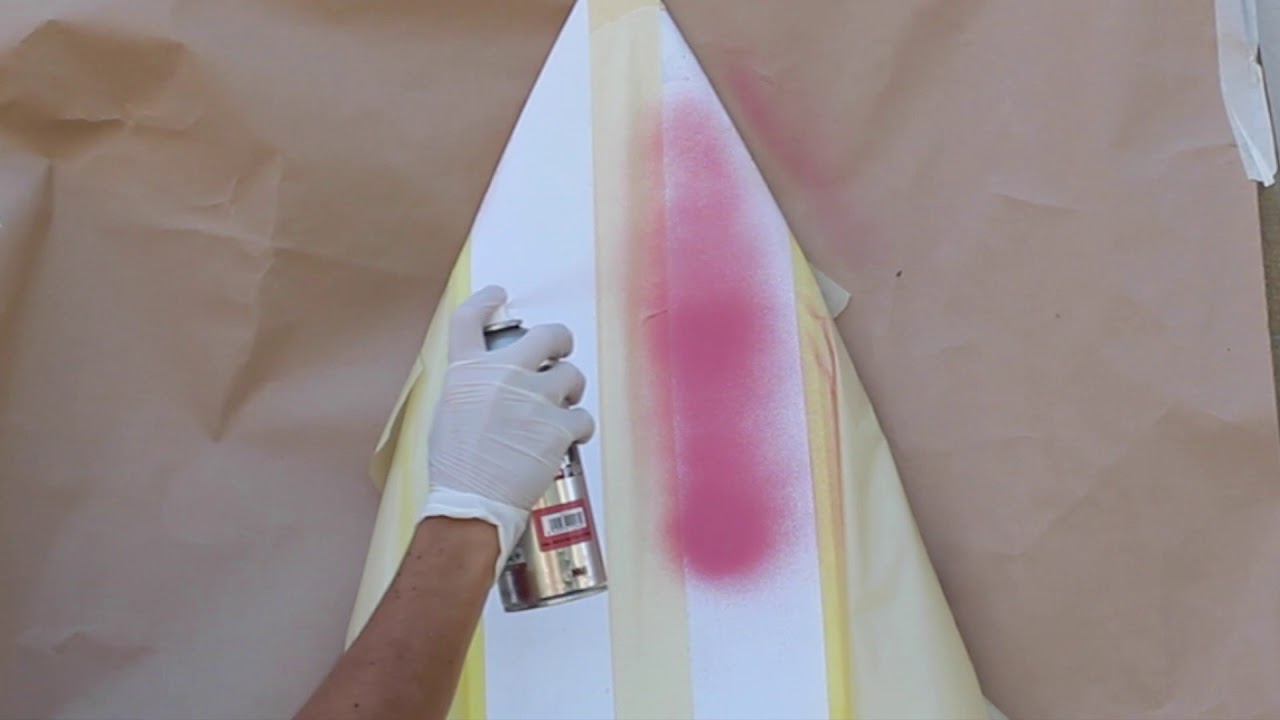
- Put on the paint on the mesh brush and equally overlay the surfboard.
- Leave the paint for a day until it totally dries up.
- Polish the board using a fine grain abrasive paper.
- Apply a tail pad, if necessary, and the job is done!
- Additional tip: You may prefer to overlay the surfboard with pure acrylic-based aerosol paint for several layers and after that slightly polish it with 1200 grain abrasive paper. It preserves the paint from crackling and fainting in the long run!
Hopefully, you’ve liked our step-by-step guide on Spraying Your Surfing Board into a Unique and Trendy Kit!
Let’s get to work!
Instructions
Hello, my name is Canny, and at the moment I’m planning to do an educational guide on Spraying Your Surfing Board into a Unique and Trendy Kit.
Recently, I’ve conducted several overviews and got many inquiries about painting my surfboards.
We’ve promised to prepare some kind of response, so I’m simply going to describe the process.
“It’s pretty easy but rather efficient.”
I do not really like the standard same-type surfboards, that’s why I’m simply going to describe the procedure that we follow.
Supplies, Choose the Coloring
Clearly, you will have to use an aerosol paint.
This time I’m planning to go with green and black, with no particular reason, I just didn’t have a chance to apply those two tones earlier.
Usually, I work with a mesh brush so it’s probably going to be a play of colors.
I paint the mesh brush and then wipe it a bit drier. I put a disposable glove on as you lose the paint straightly at the mesh brush that you’re holding and you would rather do not spray your hand with the paint.
Choose the Pattern
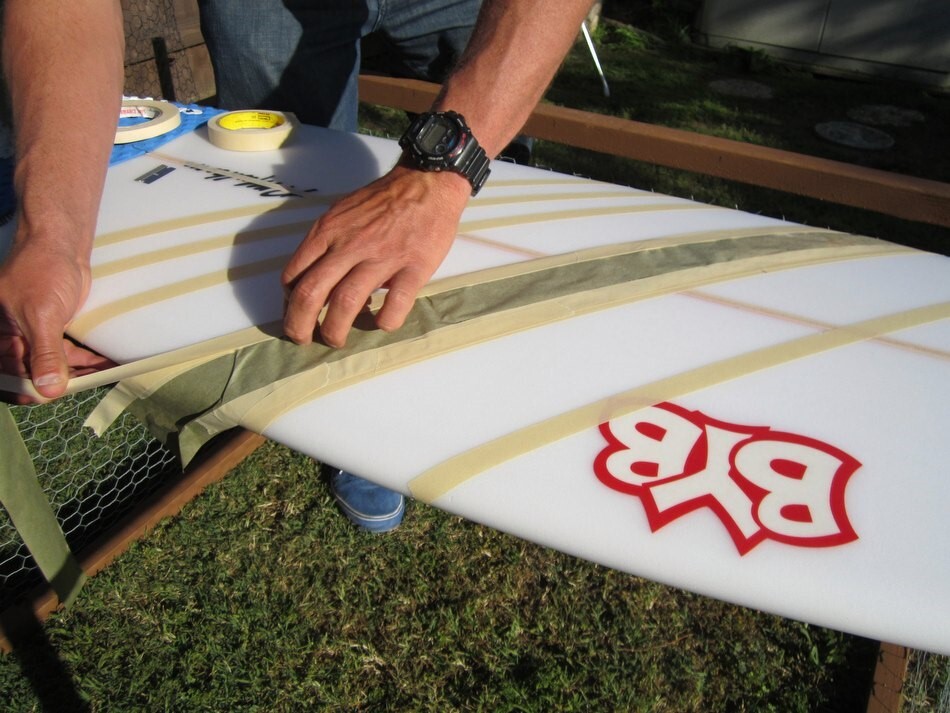
At the moment I’m planning to go with 1 color at one part, upside and downside, the other color at the tail part – upside and downside – and that’s all.
Prepare your Surfboard (if necessary)
This time I have a neat, brand-new surfboard, that’s why it does not need a lot of advance preparation. All it takes is brushing off some dust since it has a slight finishing coat.
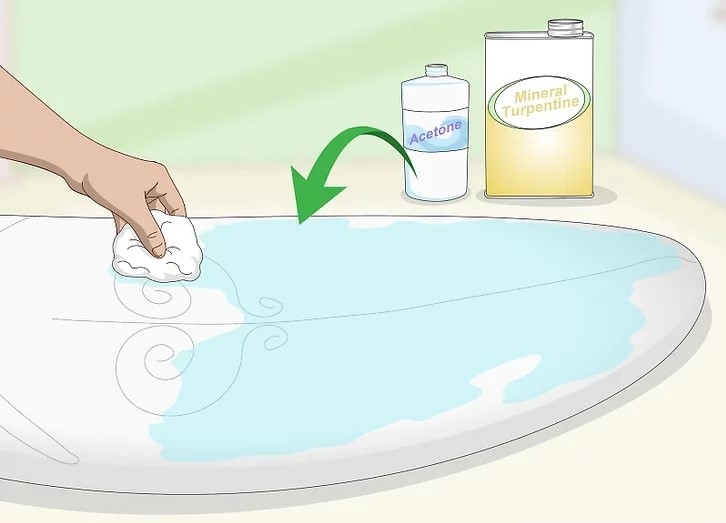
In case you have a waxed surfboard, make sure to not forget to clear the waxing out. Bring the surfboard outdoor in the sunshine and wipe the waxing off.
The turpentine oil or menthol alcohol may come in handy to wash the waxing or any greasing off your surfboard so that you’ll get a clear working face.
If you have a wet/dry 1,200 fine grain abrasive paper, use it to rub down all the mess so as the paint could be overlaid smoothly and set securely on the surfboard and would not wash down off after a while.
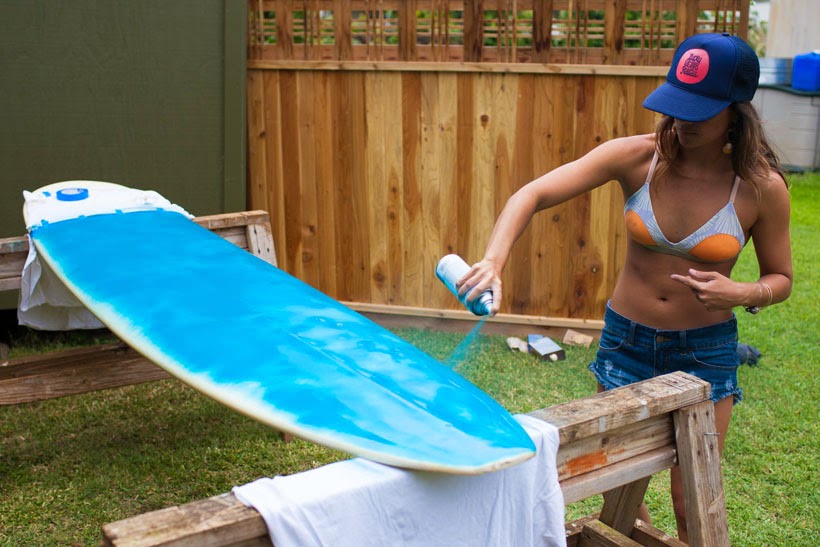
Put on the Paint on the Mesh Brush and Equally Overlay the Surfboard
I usually turn to a regular mesh brush used for car washing. They are cheap and can be split into parts.
I utilize it to spread the paint over. I put the paint onto the mesh brush and overlay it throughout the board.
Typically, I choose regular aerosol color from the building supplies store. Again, it’s not expensive, just the average paint.
In our case, we are going in for 2 colorings that will be applied by a simple mesh brush.
With a bit of luck, everything is going to work out well as we are doing it for an educational guide. I’m coloring the mesh brush and then gradually spreading it up until the midpoint.
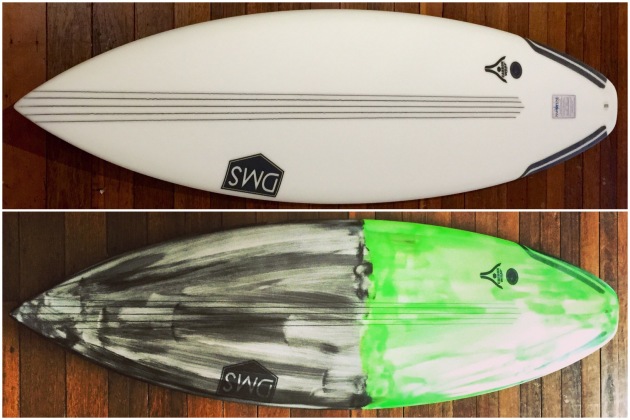
I’ve decided to paint the forepart black, the rear part – green, and repeat the same pattern on the bottom.
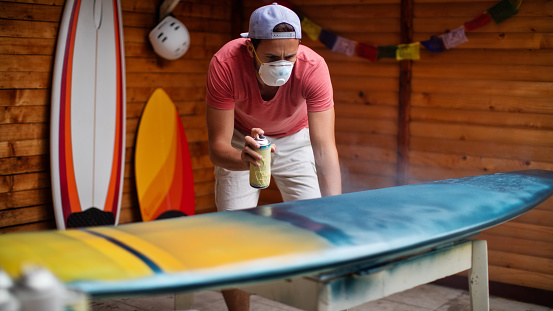
Don’t forget to put on a disposable glove if you do not want your hands to become dirty from the painting.
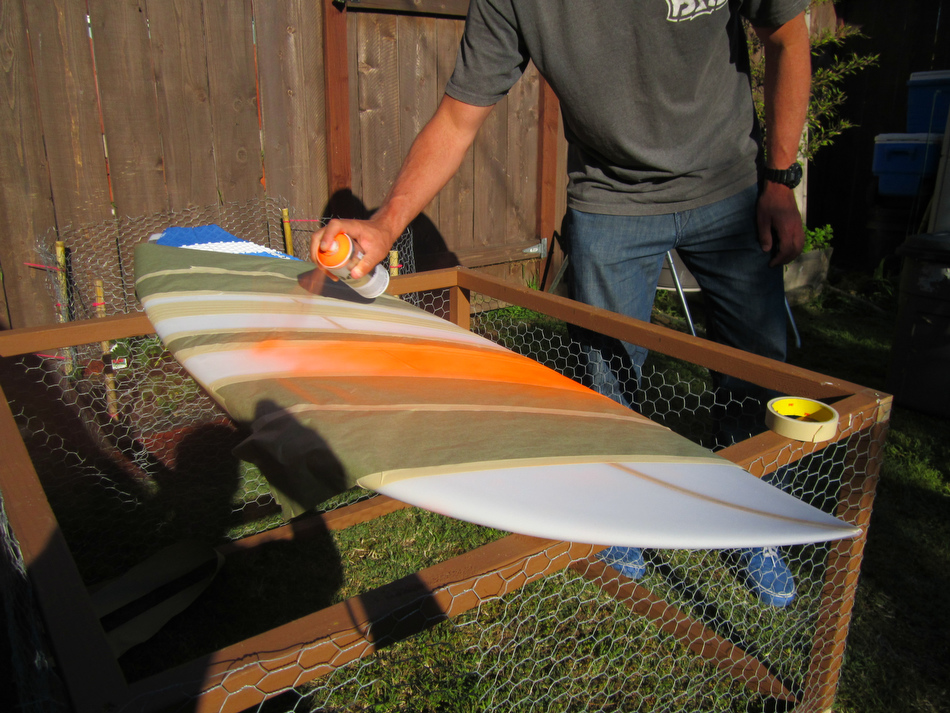
As soon as you cover throughout the whole length of the board’s upper side, you may turn the surfboard upside down and repeat the procedure on the downside.
It’s like a 4-step procedure. You colorize the first and second part on the upside, then the third and fourth part on the bottom – and that’s it.
You can put a mark at the middle point of the surfboard so you know where to change the paint and the pattern will look identical from both sides.
I firstly overlay a clear coat of black coloring.
I cover half of the board’s upside and downside. Then I’m ready to apple the green paint, it goes the other half of the board’s upside and downside.
Sometimes, neon-filled paints can be quite tricky.
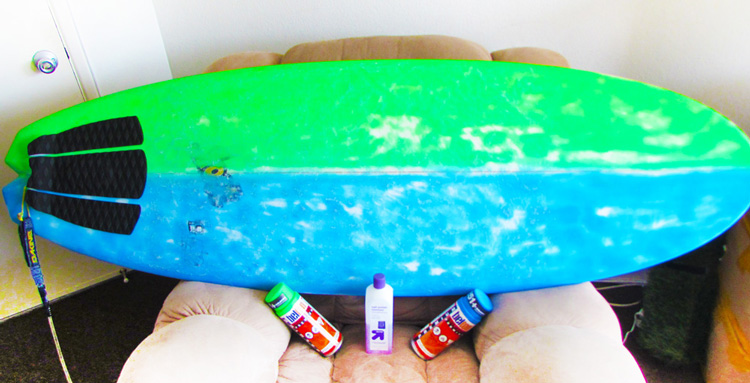
Finally, both sides are colorized. The coloring process is finished.
Leave the paint for a Day
All that’ s left to do is let the coloring stick to the surfboard for no less than 24 hours until it totally dries out.
Polish the Surfboard
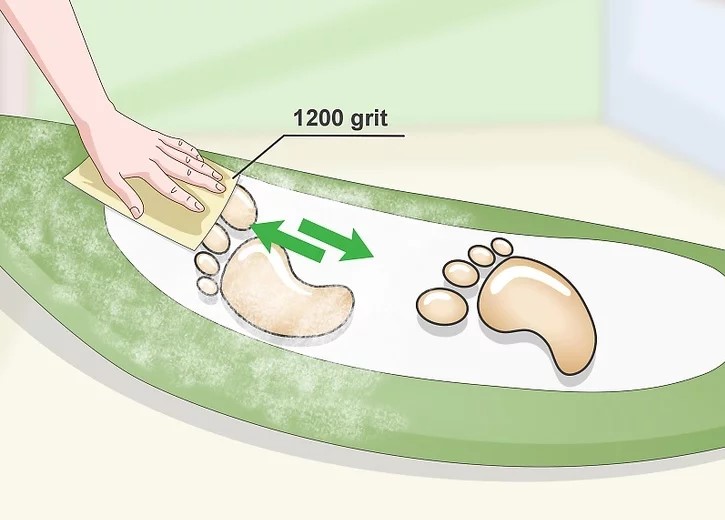
As some rough edges may still be left, it might be good to use a wet/dry 1,200 fine grain abrasive paper with plenty of water and do a very soft wet/dry polishing.
Everything you need to do is softly smooth out the rough edges.
After that, you may consider your surfboard almost redesigned. Just set the tail pad on and your kit is ready to surf you.
Thanks for your attention.